Before I start discussing the joy of ply lining it's probably worth a mention of the bulkhead. In just about every conversion that I've seen, one of the first things to go is the front bulkhead. Removal of the bulkhead obviously creates more space, allows the fitment of swivel chairs in the front and increases the window space in the van, all of which I can see the benefit of.
However, I've elected to leave mine in for a couple of reasons. Firstly the plan has always been for my bike to fit in the rear of the van, the obvious place for this is against the bulkhead, in which case swivel seats will be of no use as the bike will always be in the way. Secondly, and I think this is an important one, I've spent a lot of time insulating the rear of the van and as soon as the bulkheads gone the entire front of the van is un-insulated, including all the glass surfaces, somewhat negating all that hard work and just introducing more area to try and warm up. Thirdly, I've had van's before and they tend to be noisy, most of the noise coming from the large open space at the rear, by leaving the bulkhead in place (and lining it) the noise levels are significantly lowered. Finally, the idea's always been stealth camping, (not using campsites etc) as such the van looks a lot less conspicuous with the bulkhead in place, as soon as the lights are off you wouldn't know if it was just a van parked in a car park or if I'm kipping in the back.
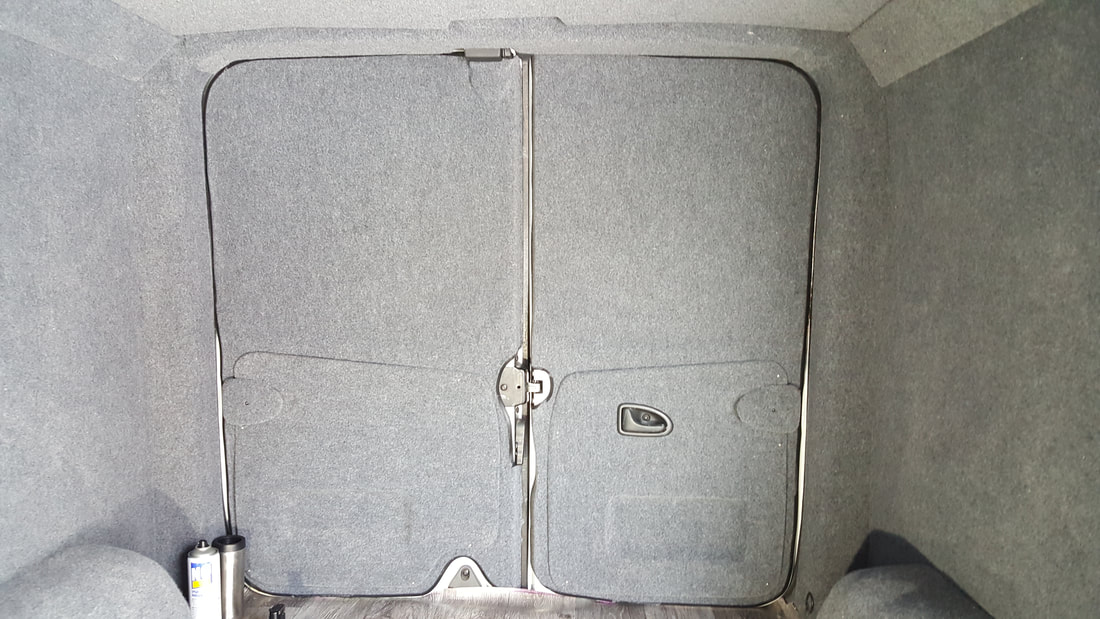
So with the decision made to keep the bulkhead, it was a quick job to whip it out, give it a clean up, carpet line it for a bit of insulation, sound deadening and aesthetics and pop it back in. I think it makes a serious difference to the sound and warmth levels, and as such, to me, it's a no brain'er to keep it in place if you have the space.
However, I've elected to leave mine in for a couple of reasons. Firstly the plan has always been for my bike to fit in the rear of the van, the obvious place for this is against the bulkhead, in which case swivel seats will be of no use as the bike will always be in the way. Secondly, and I think this is an important one, I've spent a lot of time insulating the rear of the van and as soon as the bulkheads gone the entire front of the van is un-insulated, including all the glass surfaces, somewhat negating all that hard work and just introducing more area to try and warm up. Thirdly, I've had van's before and they tend to be noisy, most of the noise coming from the large open space at the rear, by leaving the bulkhead in place (and lining it) the noise levels are significantly lowered. Finally, the idea's always been stealth camping, (not using campsites etc) as such the van looks a lot less conspicuous with the bulkhead in place, as soon as the lights are off you wouldn't know if it was just a van parked in a car park or if I'm kipping in the back.
So with the decision made to keep the bulkhead, it was a quick job to whip it out, give it a clean up, carpet line it for a bit of insulation, sound deadening and aesthetics and pop it back in. I think it makes a serious difference to the sound and warmth levels, and as such, to me, it's a no brain'er to keep it in place if you have the space.
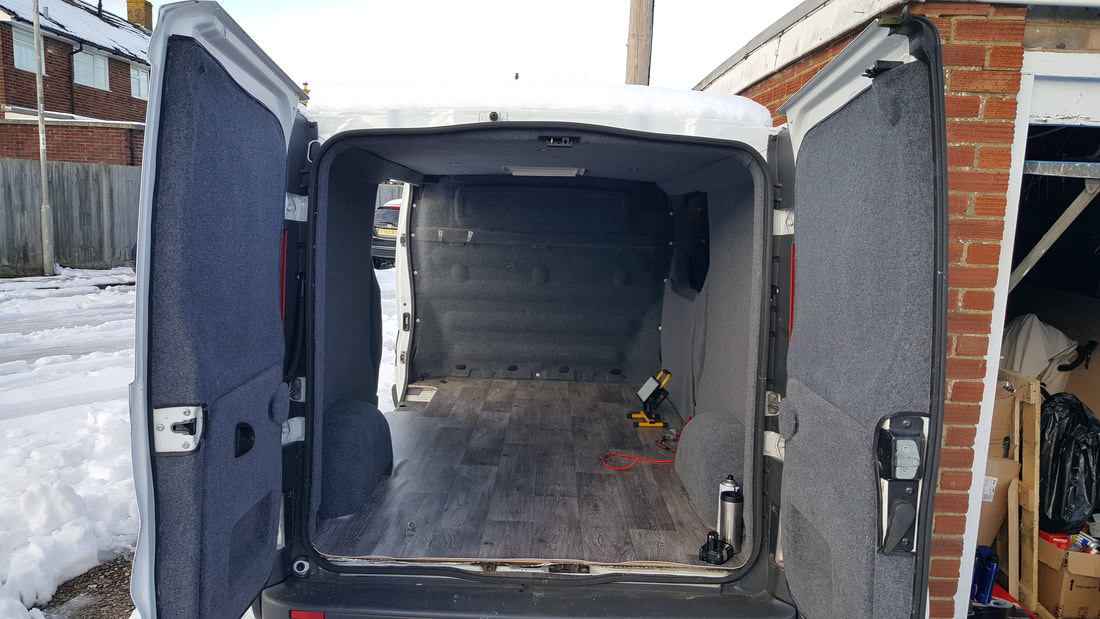
On to the Ply Lining then. The first thing worth mentioning is that one of the selling points of these vehicles is that they can take a full 8'x4' sheet of plywood, either laying down or on edge. That's great if your a builder, but not so good if your trying to fully line the rear as you end up having to join sheets of Ply to get the required sizes, not a problem in it's own right, but does tend to introduce weak points and make life harder than it would otherwise be. The last thing I wanted was join lines showing through the carpet lining, so a fair bit of time was spent ensuring joint lines were flat and well fitted, with a layer of tape over the join to leave a flat surface on the front face.
It's a simple, but time consuming job to panel out the rear, scribing the panels to fit around the various lumps, bumps and edges. A second pair of hands makes life easier, especially for the roof panels, and in my case, a lack of electrical power to my garage made life a bit tricky. Every cut had to be either made by hand, or the panel carried back to the house to use the electric jigsaw. I thought numerous times about getting a battery powered jigsaw and looking back should have just bitten the bullet and paid the money, making life a million times easier, but I just couldn't justify the not inconsiderable expense at the time (more so as I already own 2 mains powered jigsaws).
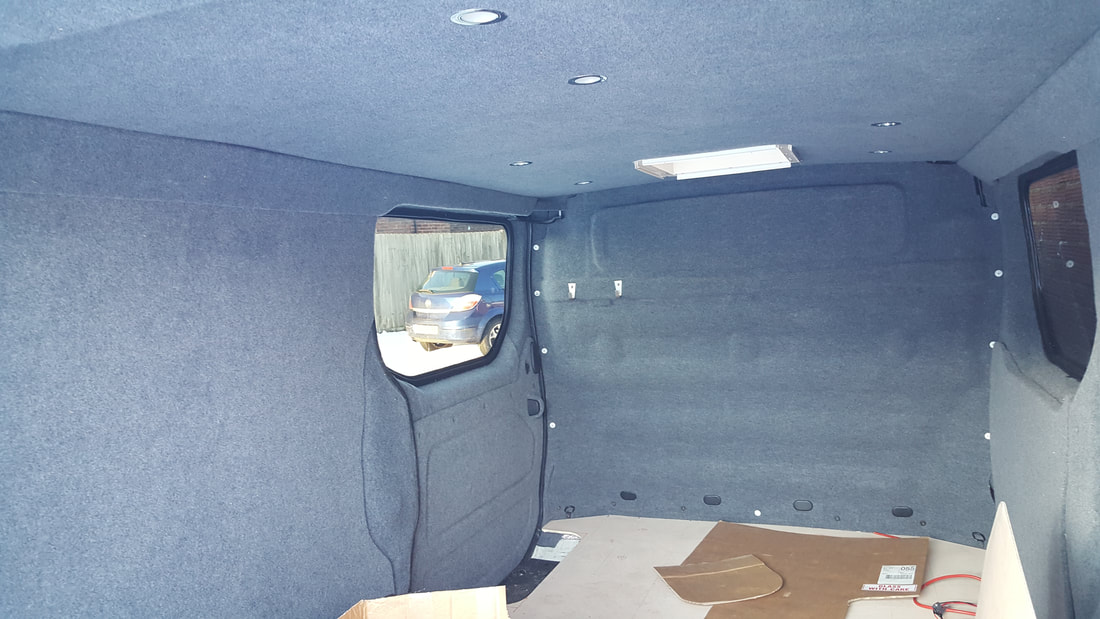
The Ply lining is fitted using self tapping screws on the sides and bolts fitted into the RivNuts installed during the initial build for the roof. My thoughts being that the load on the roof panel would be significantly more than the sides so the greater security made sense. Additionally each screw position has a large metal repair washer glued to the ply to prevent the screws from pulling through the thin wood and provide better load spreading.
A few weekends of endless trips back and forth to the house from the garage trimming plywood to size saw the paneling completed, with another few days to carpet it all up for a professional looking finish. The carpeting is another fairly easy job providing you take your time, think about how it's going to fit around the edges, bumps and holes and take it slowly. I think in total I used about 25 or 30 Sq M of lining carpet and 20 or so cans of spray adhesive, which whilst it seems like a lot, has covered all the surfaces including the bulkhead on both sides and rear doors.
It's a simple, but time consuming job to panel out the rear, scribing the panels to fit around the various lumps, bumps and edges. A second pair of hands makes life easier, especially for the roof panels, and in my case, a lack of electrical power to my garage made life a bit tricky. Every cut had to be either made by hand, or the panel carried back to the house to use the electric jigsaw. I thought numerous times about getting a battery powered jigsaw and looking back should have just bitten the bullet and paid the money, making life a million times easier, but I just couldn't justify the not inconsiderable expense at the time (more so as I already own 2 mains powered jigsaws).
The Ply lining is fitted using self tapping screws on the sides and bolts fitted into the RivNuts installed during the initial build for the roof. My thoughts being that the load on the roof panel would be significantly more than the sides so the greater security made sense. Additionally each screw position has a large metal repair washer glued to the ply to prevent the screws from pulling through the thin wood and provide better load spreading.
A few weekends of endless trips back and forth to the house from the garage trimming plywood to size saw the paneling completed, with another few days to carpet it all up for a professional looking finish. The carpeting is another fairly easy job providing you take your time, think about how it's going to fit around the edges, bumps and holes and take it slowly. I think in total I used about 25 or 30 Sq M of lining carpet and 20 or so cans of spray adhesive, which whilst it seems like a lot, has covered all the surfaces including the bulkhead on both sides and rear doors.

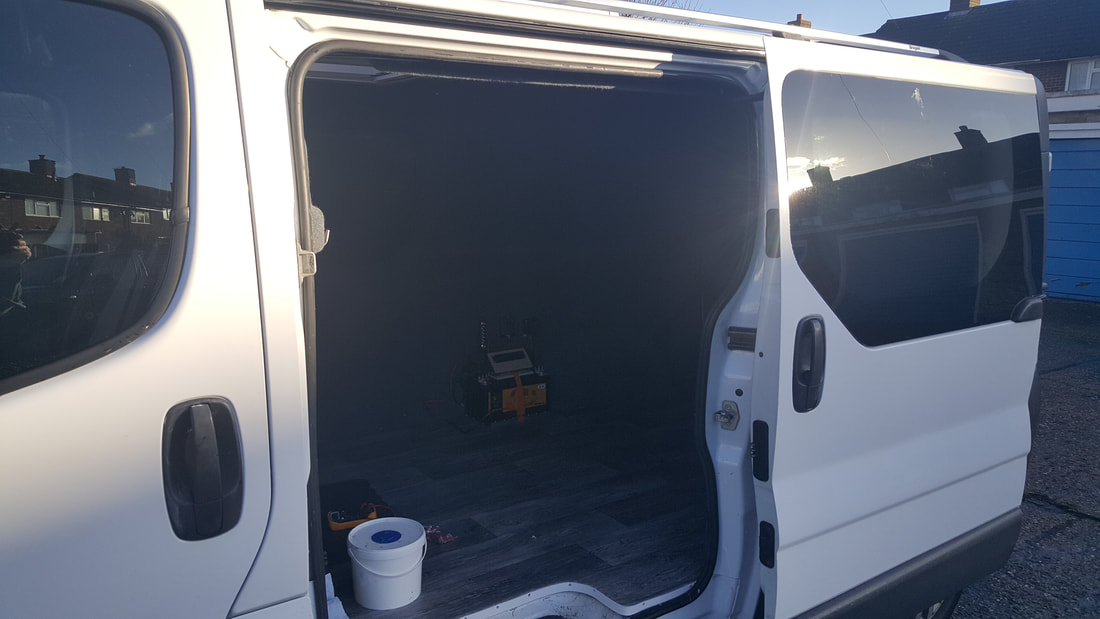
For the flooring I sourced some cheap lino / cushion flooring which is stuck down to the Ply (in turn screwed into the laths fitted earlier) the hardest bit of which was getting it into place. Like the rest of the project the low winter temperatures didn't help, with the lino being rigid and brittle due to the cold, things would have been a lot easier in the summer. The exposed edges at the front step and back doors are finished off with some plastic strip heated and bent to shape, then screwed into place, and have proved more durable than I expected.
For Part 1 - Introduction - Click here
For Part 2 - Initial Build - Click here
For Part 3 - Insulation - Click here
For Part 4 - Windows - Click here
For Part 5 - Lining - Click here
For Part 6 - Furniture and Finishing equipment - Click here
For Part 7 - 6 Month review - Click here
For Part 8 - Heating - Click here.
For Part 2 - Initial Build - Click here
For Part 3 - Insulation - Click here
For Part 4 - Windows - Click here
For Part 5 - Lining - Click here
For Part 6 - Furniture and Finishing equipment - Click here
For Part 7 - 6 Month review - Click here
For Part 8 - Heating - Click here.
