Having finally run out of reasons not to, the time had finally arrived to bite the bullet and risk ruining a perfectly good van for the second time (see initial build for the first un-fix-able if it goes wrong job opportunity). I'd been putting off fitment of the windows for as long as I could, but they were now holding up progress, so plucking up the courage, and waiting for a dry and still day, of which there aren't many at the weekend in December it was now or never.
I opted for tinted non opening windows for both sides, considering that the previously fitted roof vent would provide sufficient ventilation, and acquired 2 windows plus the adhesive and internal seals as a set from the wonders of the web (I've no idea how we sourced much of this stuff in the good old days?).
I masked off and covered as much of both the inside and outside as possible prior to starting, in the hope it would avoid future cleaning up. Acquired plenty of jig saw blades, sanding belts and other assorted consumables and invested in 2 sets of suction pads to A) Aid handling the new windows and B) My plan was to stick them to the inside surfaces and using a ratchet strap pull the windows against each other across the van whilst the adhesive cured.
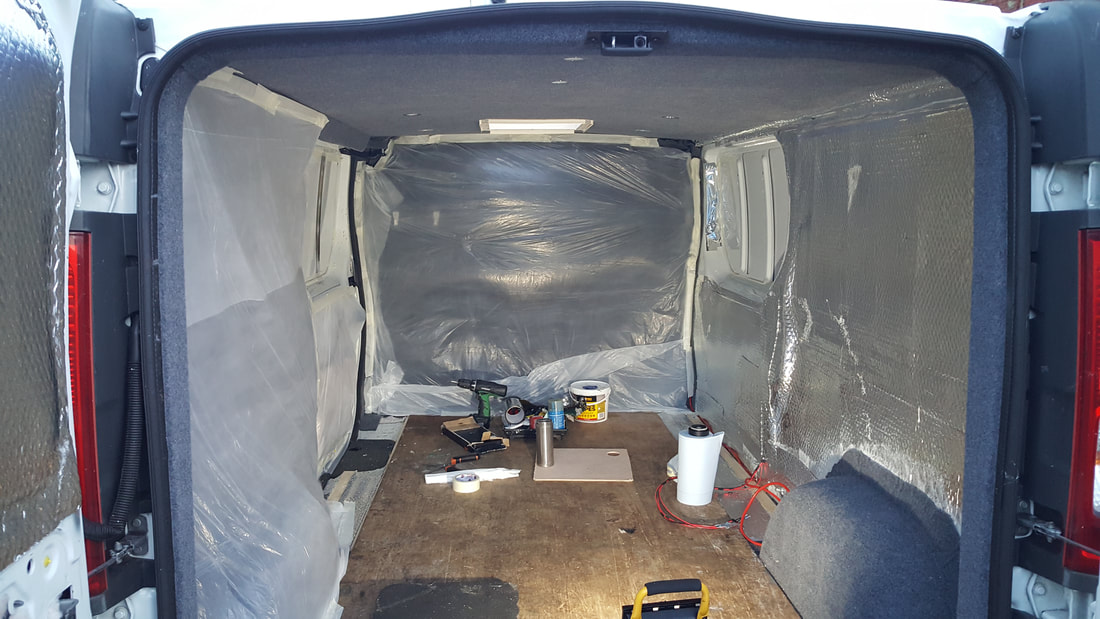
Masked up and ready to go.
The installation kit came with full instructions and it was blatantly obvious where the cut lines were going to have to be, so I had no concerns there. Prior to cutting out the skin the existing anti panting / reinforcing bars had to be removed which required drilling of the spot welds and then severing the adhesive attaching the reinforcing to the skin. This was achieved by pushing a hacksaw blade through the gap at the top and gently sawing down through the adhesive and caused no real issues.
My chosen method for cutting the skin was a metal cutting blade in the jigsaw, however, in order to get the saw properly supported against the skin, the cut needs to be made from the outside, but, as per usual, the line to cut to is on the inside. As with the roof vent I pilot drilled around the cut line from the inside and played join the dots to transfer the line to the outside.
My chosen method for cutting the skin was a metal cutting blade in the jigsaw, however, in order to get the saw properly supported against the skin, the cut needs to be made from the outside, but, as per usual, the line to cut to is on the inside. As with the roof vent I pilot drilled around the cut line from the inside and played join the dots to transfer the line to the outside.
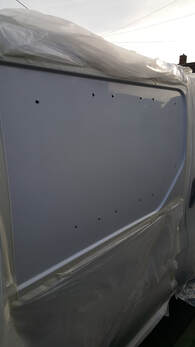
Holes drilled along the cut line from the inside ready for "join the dots" to transfer the cut line to the outside.
It was then simply a matter of cutting out the new windows. As I didn't have anyone to hold the cut piece I had to resort to taping it in place to stop it dropping out at the end of the cut and flapping around once it became loose, a situation which could have been easily resolved with a second pair of hands. I cut a few mm inside the line, planning to file the excess back to leave a nice smooth edge, which, in hindsight was a mistake and I should have just cut straight to the line. Whilst filing the excess down did indeed leave a lovely edge, not only did it take forever, but using a power file (detail belt sander) created lots of fine metallic dust which came back to bite me later on.
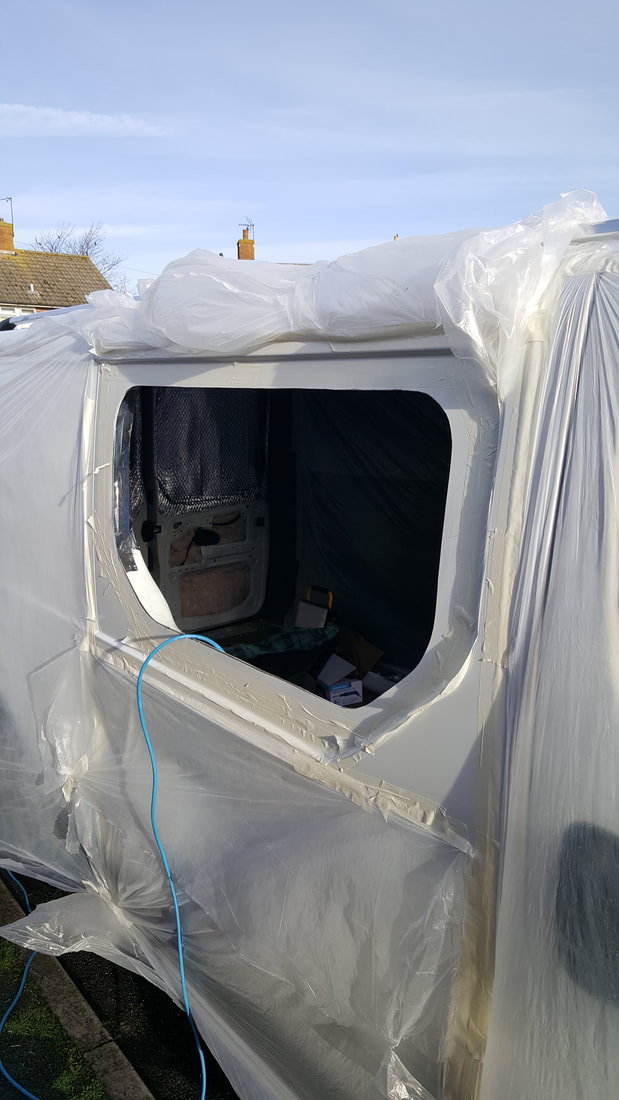
With the cut outs completed and tidied up it was a case of a liberal coating of zinc rich primer to all the freshly cut surfaces and fitment of the supplied edge trims to the inner edges. Whilst tidying up I'd taken the opportunity to warm the adhesive up in the house, guessing correctly that it would be a lot easier to apply warm than at the outside December temperature.
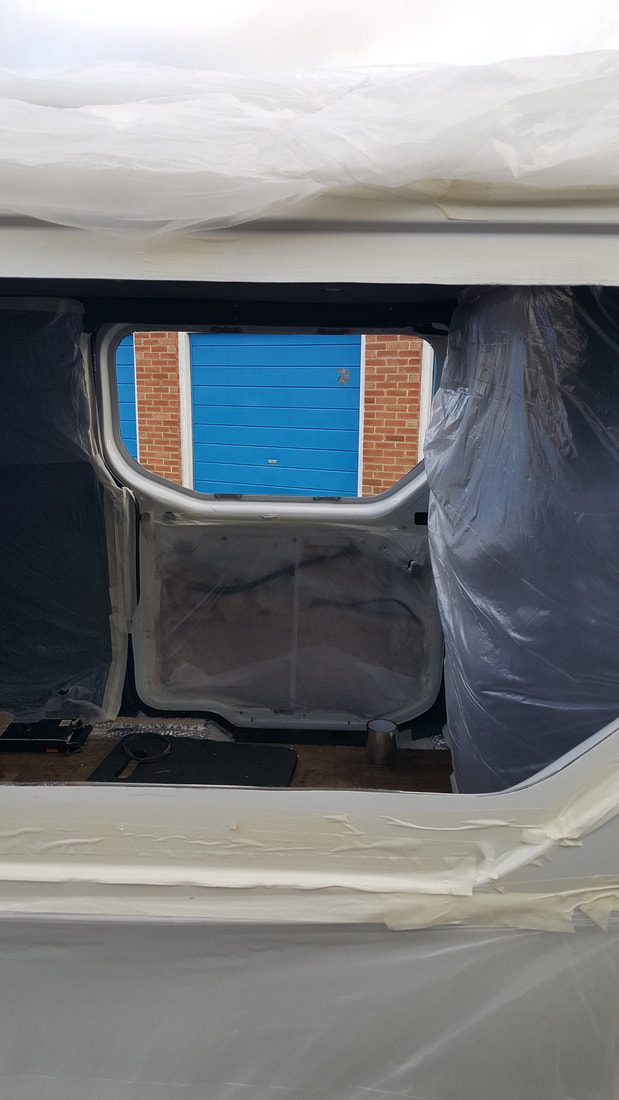
The windows are bonded in with a 2 part adhesive, applied as per the instructions (primer / promoter on both surfaces, apply adhesive as a thick single bead and bring surfaces together under firm pressure) which proved problem free. With both windows fitted and in the final position I taped them externally then pulled them both inwards across the van against each other using the suction cups and a strop with some gentle tension.
The windows are bonded in with a 2 part adhesive, applied as per the instructions (primer / promoter on both surfaces, apply adhesive as a thick single bead and bring surfaces together under firm pressure) which proved problem free. With both windows fitted and in the final position I taped them externally then pulled them both inwards across the van against each other using the suction cups and a strop with some gentle tension.

The supplied instructions gave a curing time of 2 hours for the adhesive, but considering that the temperature was barely above freezing I opted to leave things as they were overnight before removing the tape etc. Once I was happy that everything had cured and was watertight I added a bead of sealant around the inside, between the trim and the glass, just to close up the small gap and prevent any condensation from running down the window and getting behind the trim etc. Once cleaned up things looked pretty good and looking back I'm not sure why I was so worried about this part of the job, it was always well within my abilities and I'd thought everything through and had a good plan of attack.
As I mentioned briefly earlier there was one small fly in the ointment so to speak, filing back the excess metal had created a great deal of fine metal dust. I'd gone to great lengths to clean this all up, including washing the exterior the next day, however, it soon became clear that this hadn't got all the dust off as within a few days every speck of dust started to rust leaving the van exterior looking like it had measles!
I discussed my small problem with the lovely Emma (who just happens to have a bit of a fetish for car cleaning) and she came up trumps with some magic spray which reacts with the metal particles, dissolving them and turning a nice shade of purple in the process. A good wash, going over with a clay bar and wax later and it looked good as new again. In hindsight and if and when I do another one I think the better plan would be to either cut direct to the line when removing the excess metal or better still to obtain a proper Sheet metal Nibbler which won't create the dust issue in the first place.
6 months later and the windows haven't fallen out or leaked so I guess I must have done something right. The choice to fit sealed windows instead of opening ones hasn't been an issue either, even on the hottest days the roof vent provides plenty of fresh air and if your sat in the back with the sun shining you tend to have the side door open anyway.
For Part 1 - Introduction - Click here
For Part 2 - Initial Build - Click here
For Part 3 - Insulation - Click here
For Part 4 - Windows - Click here
For Part 5 - Lining - Click here
For Part 6 - Furniture and Finishing equipment - Click here
For Part 7 - 6 Month review - Click here
For Part 8 - Heating - Click here.
For Part 2 - Initial Build - Click here
For Part 3 - Insulation - Click here
For Part 4 - Windows - Click here
For Part 5 - Lining - Click here
For Part 6 - Furniture and Finishing equipment - Click here
For Part 7 - 6 Month review - Click here
For Part 8 - Heating - Click here.
